| Summary | Sets currently playing scene data as your Discord status. See README for prerequisites and config options (blue hyperlink next to enable/disable button) | |
| Repository | https://github.com/dopeniko/stash-scripts/tree/main/plugins/discordPresence | |
| Source URL | https://dopeniko.github.io/stash-scripts/main/index.yml | |
| Install | How to install a plugin? |
A plugin which shows the metadata of the currently playing Stash scene as your Discord presence
Setup
Prerequisites
- Download and run Discord Presence Server. You do not need any browser extensions.
Usage
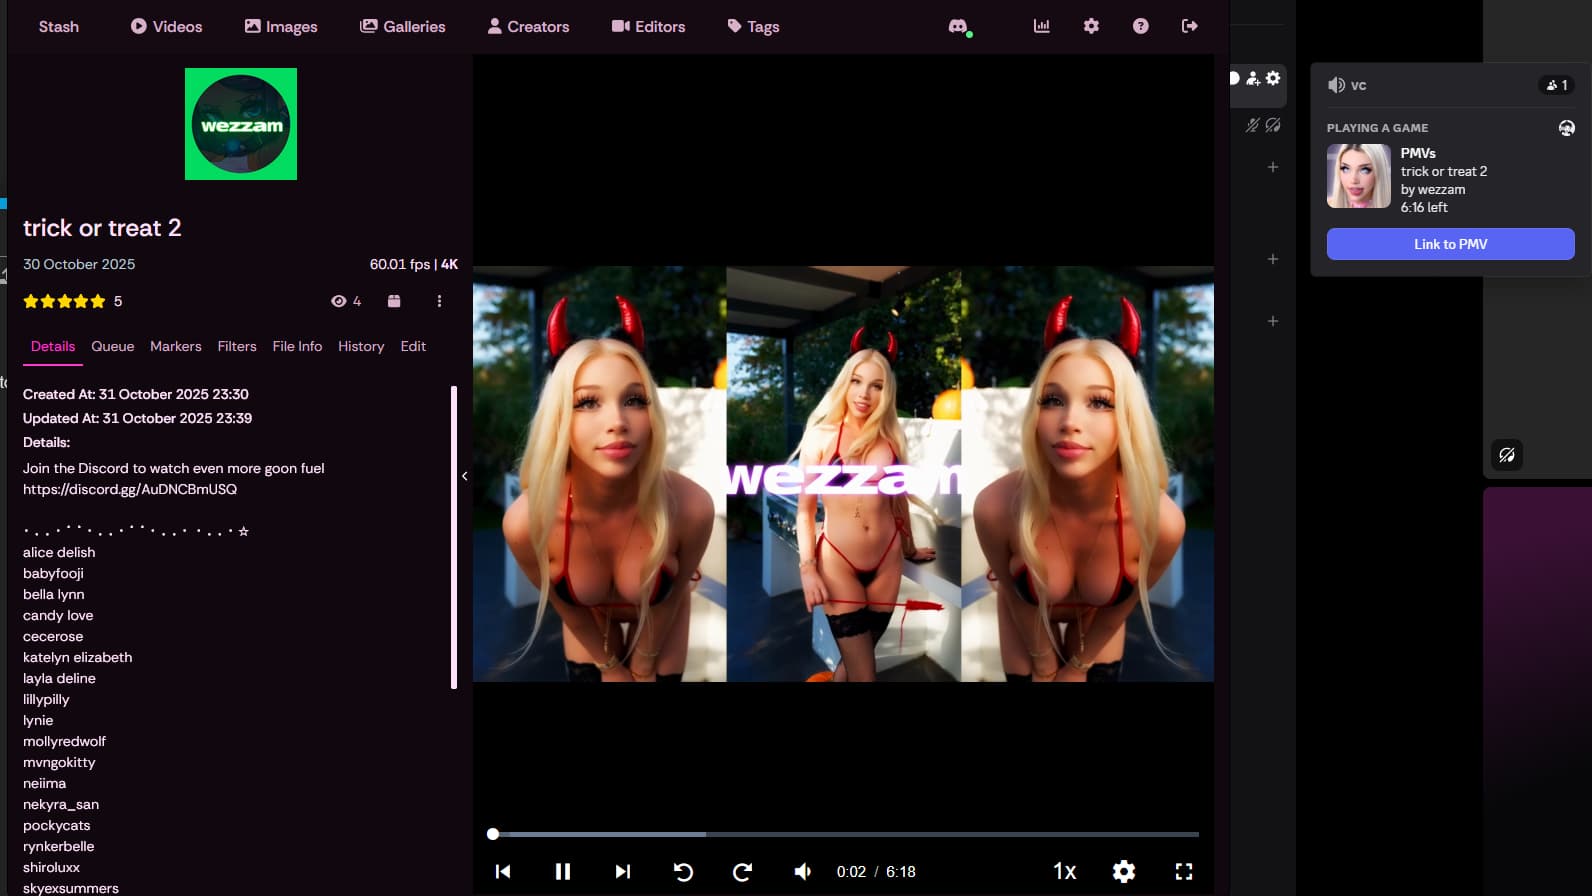
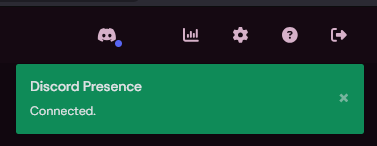
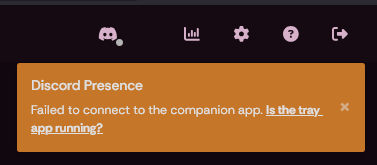
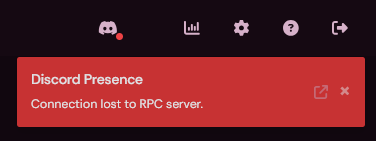
After you’ve downloaded the desktop tray app and it is running, login into your Stash and you’ll notice there is a new icon on the navbar. Click it to connect your browser to the desktop app. You’ll see a notification if it’s successful, and then Stash is ready to update presence updates.
Why the desktop app?
This plugin relies on a separate desktop app (Discord RPC Server) running in the background. This is required because only a local app can talk to your Discord client to set a custom presence. The ability to do so from a website/browser is whitelisted by Discord (otherwise any website you visit could change your Discord client presence). Discord RPC Server is an open source application which exposes a websocket connection, so that other browser scripts and extensions (i.e. this plugin) can send presence updates to it, which it then forwards to your Discord client.Configuration
You can customize almost any part of the activity presence with the plugin options.
| Presence element | Plugin setting name | Default value (if empty; reverts to: ) | Configuration |
|---|---|---|---|
| Activity name | Custom Discord application ID | 1236860180407521341 (displays “Stash”) |
Create a new application under your Discord developer portal. The name of the application will be the name of the activity being shown as “Playing”. Copy the APPLICATION ID (20 digit number) from the Developer Portal and set it in the plugin options. |
| Details (first line) | Presence details text | {title} |
Custom text and variables |
| State (second line) | Presence state text | from {studio_name} |
Custom text and variables |
| Show activity image | Show presence image | Off | Toggle switch |
| Custom activity image | Custom presence image key | stashbox |
After creating a Discord app (see first config option) go to your application settings > Rich Presence > Art Assets. Upload your custom image, give it a key name, and put this in the plugin option (takes a short while for the asset to appear after uploading). |
| Activity hover text | Custom image text | Empty | Custom text and variables |
| Show URL button | Show scene URL button | Off | Toggle switch |
| Custom button text | Custom button text | Watch |
Custom text and variables |
String variables
You can insert metadata from the currently playing scene into configurable elements, by enclosing variables in curly braces.
For example, if you were watching a scene called “Kittens” and wanted to display “Watching Kittens” under the presence details, you would set the config option to Watching {title}.
Below are a list of available variable names:
{id}{title}{code}{details}{director}{date}{rating100}{o_counter}{organized}{interactive}{interactive_speed}{created_at}{updated_at}{resume_time}{last_played_at}{play_duration}{play_count}{url}{studio_name}{file_duration}{performers}